How to Fix a Leaking Radiator Without Damage
By Chalmers Plumbing & Heating
A damp patch beneath a radiator can turn into damaged flooring, stained ceilings below or a heating system that keeps losing pressure. Trying to fix leaking radiator issues early is sensible, but the right repair depends entirely on where the water is coming from. A loose valve can often be dealt with quickly; corrosion in the radiator itself usually cannot.
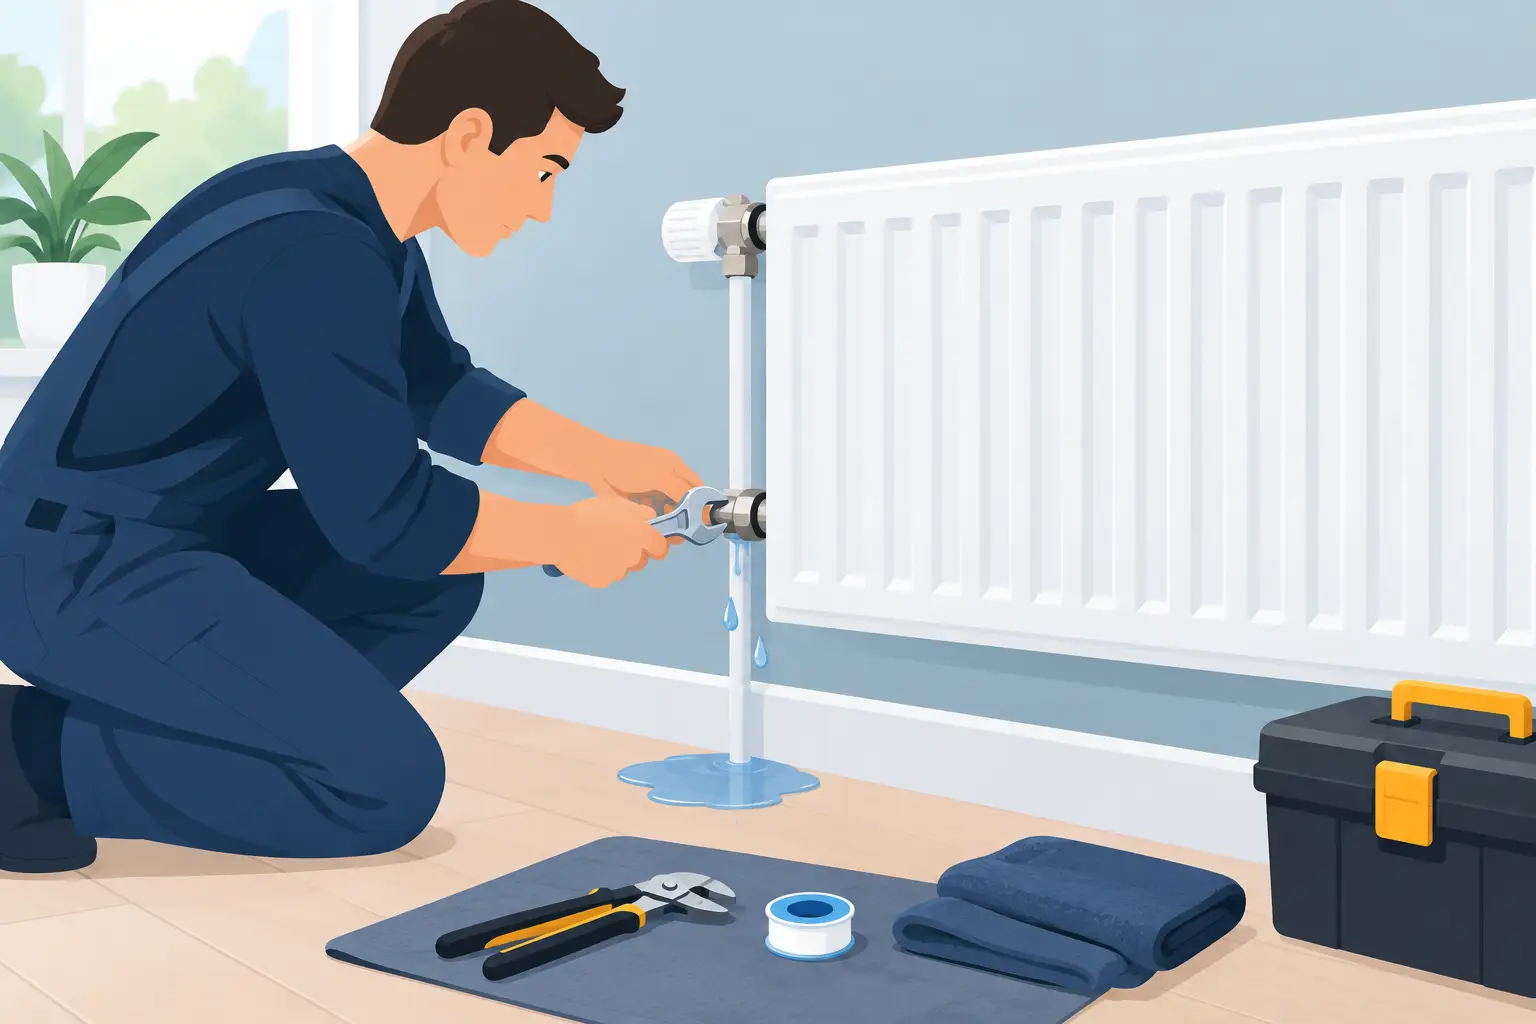
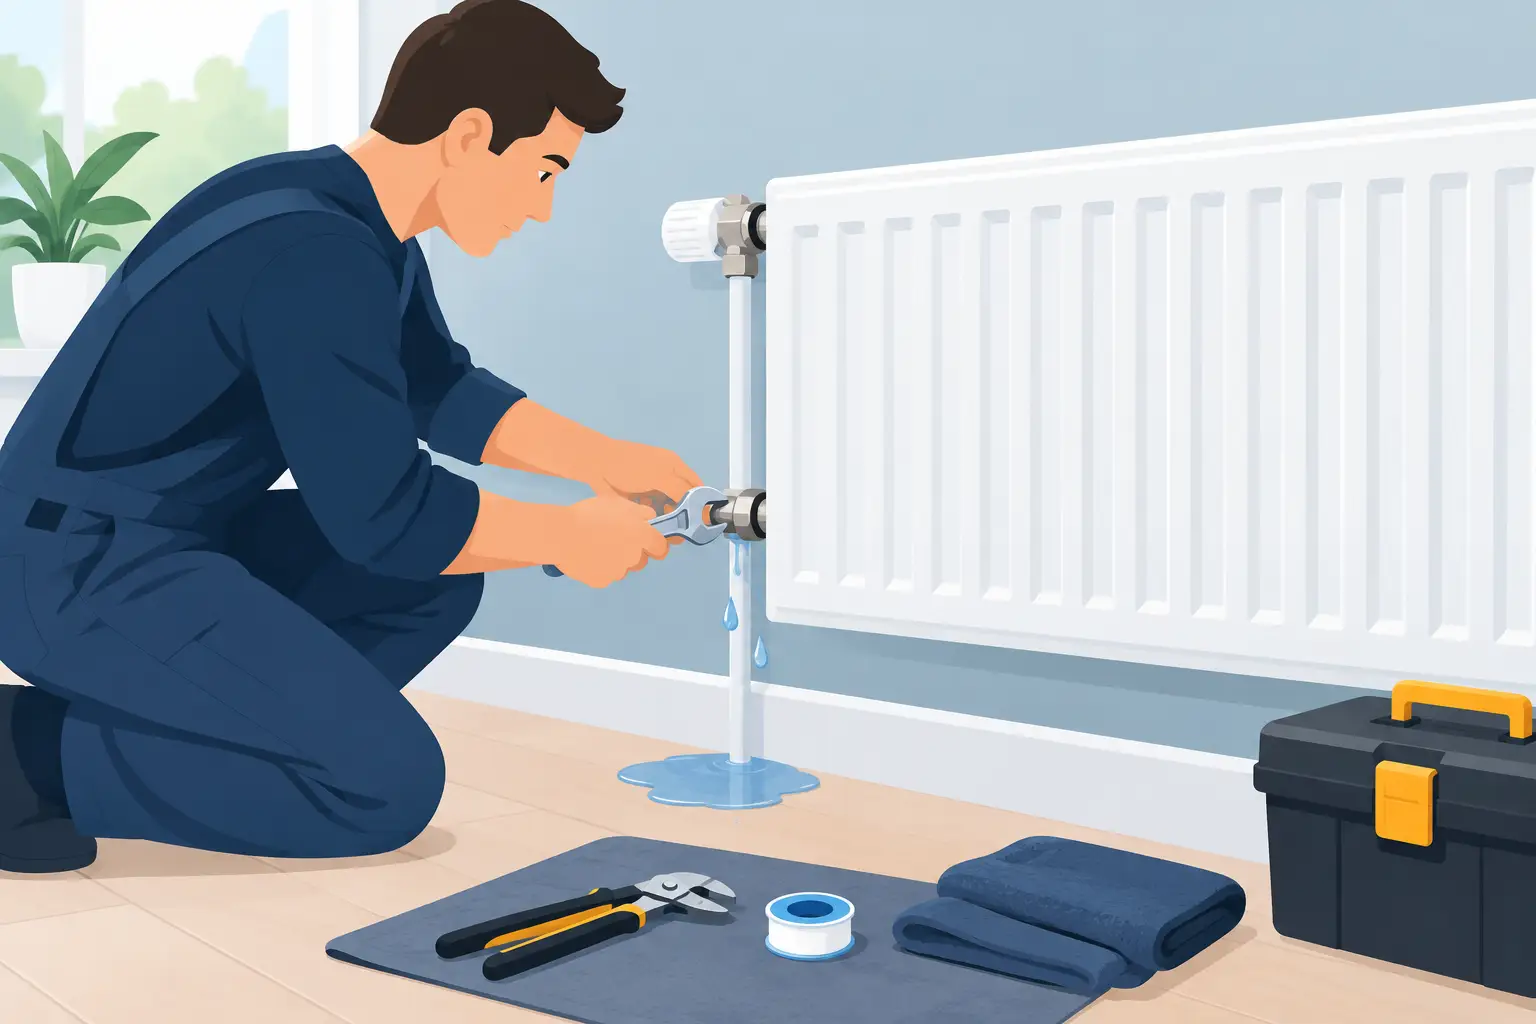
First, protect the area with towels or a shallow container, then turn the heating off and allow the radiator to cool fully. Do not work around hot water or attempt to dismantle a fitting while the system is running. If water is coming out steadily, or there is water near electrical sockets, call a heating engineer rather than experimenting.
Find the source before you fix a leaking radiator
Water does not always drip directly below the fault. It can run along a pipe or radiator panel before falling to the floor, so dry the area thoroughly and inspect it with kitchen roll or a dry cloth. The point that becomes wet first is usually the source.
The most common locations are the valve at either side of the radiator, the small bleed valve near the top, a pipe joint, or the radiator body itself. Each has a different cause and repair route.
A leak from the threaded spindle beneath the thermostatic radiator valve or lockshield is commonly caused by a worn internal seal. A very small weep from the bleed valve may mean its screw is not fully seated or its seal has deteriorated. Water from the large nut connecting a valve to the radiator can indicate a failed joint seal or movement in the pipework. Rusty, discoloured water or a damp patch on the radiator panel is more concerning, as it can point to internal corrosion.
Take a clear photo before touching anything. It is useful if the leak worsens, and it gives an engineer a better idea of what parts may be required.
What you can safely try at home
For a minor drip around a valve spindle, remove any decorative plastic cap if fitted and look for the small gland nut around the spindle. With the heating off and the radiator cold, a very gentle clockwise turn - no more than a quarter turn - may stop the leak. Check again after the heating has been back on for a while. Overtightening can damage the valve or make it difficult to operate.
If the bleed valve is weeping, use a radiator key or suitable screwdriver to make a slight clockwise adjustment. Stop as soon as resistance increases. Bleed screws are soft and easily damaged, so avoid forcing them. If the screw head is rounded, the valve continues to seep, or water comes from around the fitting rather than the screw itself, it needs professional attention.
A compression joint at the bottom of a radiator is less suitable for DIY tightening. The visible nut may look like the obvious culprit, but turning it can disturb an older olive seal and create a larger leak. The same applies to joints on concealed or boxed-in pipework, where a slow drip can go unnoticed for some time.
Do not use sealant, tape, epoxy putty or leak-stop products as a permanent radiator repair. These can conceal the actual fault, contaminate the heating system or make a later repair more difficult. They are especially poor choices for a corroded radiator panel.
Isolate the radiator if the leak continues
If the leak is more than a light weep, the radiator may need to be isolated until it can be repaired. Turn the thermostatic valve fully clockwise to its off position. On the opposite side, remove the cap from the lockshield valve and turn the spindle clockwise carefully, counting the turns as you go. Recording the number of turns helps an engineer restore the valve setting afterwards.
Isolation can reduce or stop water feeding through that radiator, but it does not guarantee that all water has left it. Do not loosen the large valve nuts unless you know how to drain, disconnect and refill a sealed heating system correctly. On a pressurised system, incorrect work can lead to a rapid loss of pressure, air entering the system and further leaks when it is repressurised.
Keep an eye on the boiler pressure gauge once the system is cool. If pressure keeps dropping, the leak may be more significant than it appears, or there may be another fault elsewhere in the system. Repeatedly topping up the pressure is not a repair. Fresh water introduces oxygen, which can accelerate corrosion in radiators and pipework over time.
When a radiator needs repair or replacement
A valve, bleed point or accessible pipe joint can often be repaired by replacing a seal, olive, bleed valve or valve body. The radiator itself is a different matter. If water is coming through a pinhole in the panel, particularly around the lower edge, replacement is normally the dependable option.
Pinhole leaks often develop where sludge and oxygen have caused corrosion from inside the radiator. Replacing only the affected radiator may solve the immediate problem, but it is worth considering why it failed. Cold spots, dark system water, frequent bleeding, noisy circulation or repeated valve failures can all suggest poor water quality in the wider central-heating system.
In those circumstances, an engineer may recommend cleaning the system, fitting or checking magnetic filtration, and adding the correct inhibitor once work is complete. A powerflush is not necessary for every leak, but it can be appropriate where there is clear evidence of sludge or circulation problems. The decision should follow an assessment, not be treated as an automatic add-on.
Older radiators can also be a good opportunity to check whether the existing heat output still suits the room. A replacement that is too small will leave the space slow to heat, while an oversized radiator can make control less precise. Correct sizing takes account of the room, insulation, glazing and how the property is used.
Call an engineer sooner if you see these signs
Arrange a prompt visit if the leak is continuous, the radiator is badly corroded, the boiler pressure falls regularly, or water has reached flooring, skirting or electrics. You should also call for help if the leak develops after a new boiler installation, decorating work, a system refill or changes to heating controls. These details can help trace whether the problem is local to the radiator or linked to system pressure and circulation.
For landlords and property managers, a documented repair matters as much as stopping the drip. The cause, parts fitted, pressure check and any recommendations for follow-up work should be recorded clearly. This helps protect the property and avoids the same issue being reported again without context.
A qualified heating engineer will identify the leak, isolate and drain only what is necessary, fit compatible parts, refill the system correctly, vent air and test it under operating conditions. At Chalmers Plumbing & Heating, that means explaining whether a small repair is sensible or whether replacement will be the more reliable, better-value option.
A radiator leak is rarely something to ignore until the next service. Catch the source early, avoid forcing fittings, and arrange a proper repair before a small drip becomes damage to the room around it.