If a radiator is not heating up properly it can quickly make a room feel uncomfortable and waste energy. Before you resign yourself to a chilly home, there are several simple checks you can do safely to narrow down the cause and often get things working again.
Quick symptom check
Start by noting exactly what is happening. Different symptoms usually point to different problems, so a few minutes of checking now can save time later.
One radiator cold, others hot: Often a closed valve, stuck TRV or balancing issue.
All radiators cold: Likely boiler, controls or system-wide problem.
Cold at the top, warm at the bottom: Usually air trapped in the radiator.
Cold at the bottom, hot at the top: Sludge or debris in the system.
Noisy radiator (gurgling, trickling): Commonly air in the system or circulation issues.
Room thermostat not responding: Controls, batteries or settings may be at fault.
Once you have a clearer picture, you can move through the checks below. If at any point you are unsure, stop and contact a Gas Safe registered heating engineer.
Check the basics: boiler and controls
Make sure the boiler is actually calling for heat
Look at the boiler display. It should be powered on, with no obvious fault code. If the boiler has a pressure gauge on a sealed system, it usually needs to be around 1 to 1.5 bar when cool.
Next, turn up the room thermostat to a temperature higher than the room. Set the programmer or smart controls to "heating on" or a manual override for at least an hour. Wait a few minutes and see if the boiler fires up.
Thermostats and programmers: quick checks
For wall thermostats, check:
Batteries are fresh if it is wireless.
It is not in direct sunlight or right above a radiator, which can confuse readings.
The display is on and not showing any error symbols.
On programmers and smart controls, confirm the current schedule, that "heating" is enabled, and any holiday or away modes are turned off. If nothing responds after these checks, an engineer should test the controls and wiring.
Radiator valves: TRVs and lockshields
Check the obvious settings first
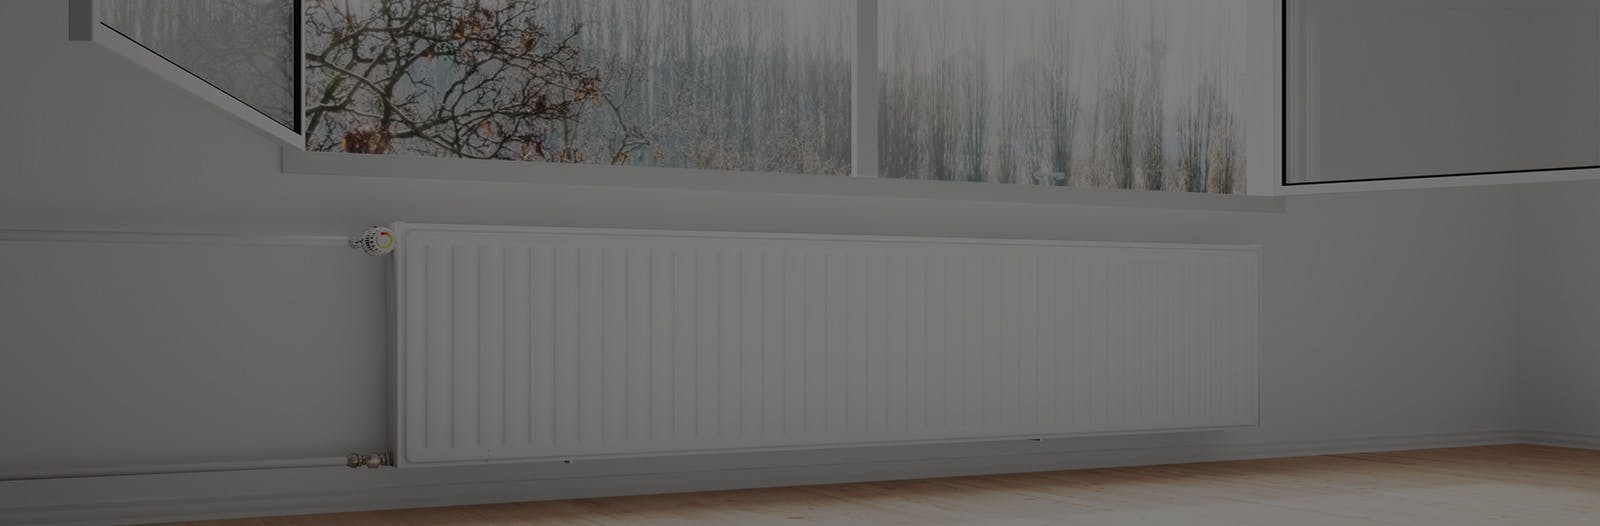
Every radiator will have two valves: a control end (often a thermostatic radiator valve, or TRV) and a lockshield valve at the other end. Both need to be open for the radiator to heat properly.
Set the TRV to its highest setting. If it is a simple manual valve, turn it fully anticlockwise to open. Make sure no furniture or curtains are pressing against the TRV head, which can make it think the room is warmer than it is.
Spotting a stuck TRV
If the radiator stays cold, the TRV may be stuck shut. You can gently remove the plastic head following the manufacturer instructions, then look for a small metal pin underneath. This pin should move up and down slightly if pressed.
If you feel confident and it is safe to do so, gently tap around the valve body with the handle of a screwdriver and see if the pin frees up. Do not force it. If it will not move or leaks occur, stop and book a heating engineer.
Lockshield valves and basic balancing
The lockshield is usually capped and adjusted with a small spanner or screwdriver. It helps balance the system so water flows evenly to all radiators. If a radiator is stone cold, check the lockshield is not fully closed by turning it a quarter turn anticlockwise.
Balancing the whole system is a more involved job that involves adjusting each lockshield so radiators heat up at a similar rate. Homeowners can attempt it with care, but if you have many radiators or older pipework, a professional balance can make a big difference to comfort and efficiency.
Bleeding a radiator safely
When bleeding helps
If a radiator is hot at the bottom and cool at the top, air is likely trapped inside. Bleeding releases this air and allows hot water to fill the whole panel again.
Before you start, switch off the heating and let the system cool for at least 30 minutes. This reduces the risk of scalding and helps air rise to the top of each radiator.
Step-by-step bleeding guide
Use a radiator key or flat-head screwdriver, and have a cloth and small container ready. Place the cloth under the bleed valve at the top of the radiator, usually on one side.
Turn the bleed valve slowly anticlockwise until you hear a hiss of air. Once water starts to flow steadily, close the valve by turning it clockwise. Wipe up any drips. Repeat for other affected radiators.
After bleeding, check the boiler pressure. On a sealed system, it often drops a little. If it has fallen below the recommended level on the gauge, you may need to top it up.
Re-pressurising a sealed system
How to top up safely
Most modern boilers have a filling loop, usually a small braided hose or built-in lever under the boiler. With the boiler off and cool, slowly open the filling valves as per the manufacturer manual until the pressure gauge rises to the recommended range.
Close the valves firmly as soon as you reach the correct pressure. Turn the heating back on and check that radiators start to warm. If pressure keeps dropping day after day, there may be a leak or component fault that needs an engineer.
Common heating setups in local homes
Older tenement-style and period properties
Older homes often have long pipe runs, mixed radiator sizes and sometimes single-pipe systems. These setups are more prone to balancing issues, cold radiators at the end of a run and sludge build-up.
Regular system cleansing and professional balancing can have a big impact here. If only the furthest radiators are cold, the issue may be water not circulating evenly rather than a fault with the individual radiators.
Newer flats with combi boilers
Combi boilers are common in modern flats and smaller homes. If all radiators are cold but hot water works, there may be a problem with the heating side of the boiler or its controls.
In these homes, boiler pressure, programmers and any wireless thermostats are often the first places to check. TRVs can also stick if radiators are left off for long periods.
Larger homes with system boilers
Larger properties may have system boilers with a separate hot water cylinder, and sometimes multiple heating zones. If only one floor or zone is affected, the issue may be with a motorised valve or individual zone controls.
These components are not suitable for DIY repair. If a whole area of the house is cold despite other zones working, it is usually time to bring in a qualified engineer.
When not to DIY
Although simple checks and radiator bleeding are usually safe for competent homeowners, there are clear points where you should stop and seek professional help.
Do not attempt DIY fixes if you notice any of the following:
Visible leaks from radiators, valves, pipework or the boiler casing
Boiler pressure dropping repeatedly even after topping up
Boiler fault codes, warning lights or the boiler cutting out
Burning smells, soot marks or scorch marks near the boiler or flue
In these situations, switch off the boiler, ventilate the area if safe, and contact a Gas Safe registered engineer immediately. Gas appliances should never be opened or repaired by unqualified persons.
Next steps and getting professional help
If you have worked through the basic checks for valves, thermostats, bleeding and boiler pressure and your radiator is still not heating up, a professional diagnosis is the safest and most efficient option. An experienced engineer can quickly identify underlying issues such as sludge, failing pumps, stuck valves or control faults.
For more focused advice, you may also find it helpful to read guides on specific issues such as radiator cold at bottom or boiler pressure dropping, which go into greater detail on those problems.
If you are in need of expert help, contact Chalmers Plumbing & Heating on 01413740274 to arrange a heating engineer visit. A thorough system check and professional boiler repair can get your radiators heating properly again and help keep your home warm and safe.